By Jillian Tempestini — May 9, 2018
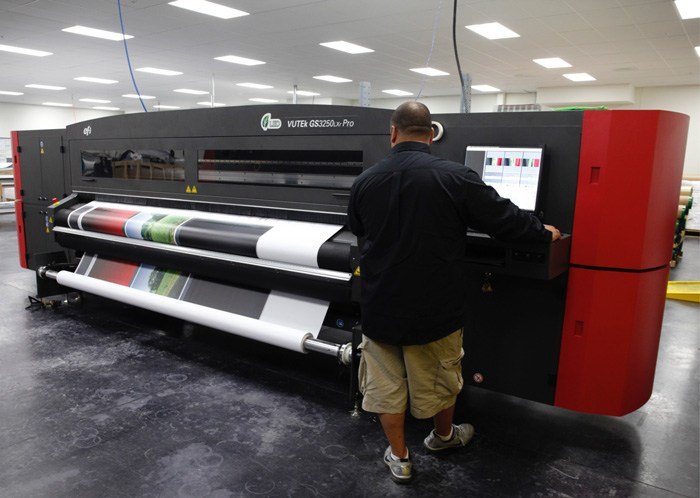
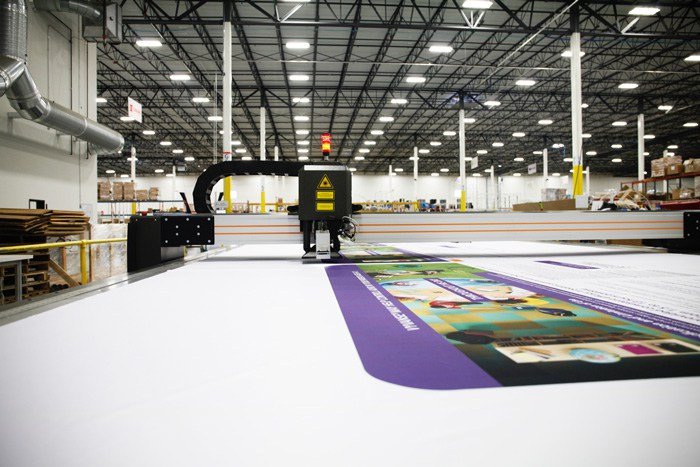
Impressive exhibits all share one thing in common: stunning graphics that stand out on the show floor. Larger-than-life graphics are made possible thanks to large format printers that can create graphics on virtually any material.
Whether you’re designing graphics for a banner stand, a fabric exhibit or a rigid hanging sign, large format trade show graphics are a unique breed. Typical rules and guidelines for designing standard graphics do not necessarily apply when preparing files for large format printing.
We have several tips that will help ensure you get the best possible outcome for your large format graphic design.
Adobe Design Programs
Get a refresher on the three main Adobe products used to design large format graphics.
Illustrator
Illustrator can create vector-based images that can be scaled up without losing clarity. You can also incorporate raster-based images from Photoshop.
Files created in Illustrator are typically smaller than files created in Photoshop. Smaller files are easier to transfer and print during the design process, making Illustrator ideal for laying out and creating large-scale graphics.
Photoshop
Photoshop is strictly raster-based and mainly used for photo/image editing. Because the images are composed of pixels, raster graphics scale down with no loss of quality but enlarging will cause pixilation.
When using Photoshop, be sure your images are high resolution enough to fit the large print space. If you are creating design elements like shapes or blocks of color, Illustrator is best.
InDesign
If your designer often creates brochures for your company they likely use InDesign, a program best for page layout for printing. With restrictions on page scale it isn’t recommended for large-format printing. Instead, use Illustrator, which provides the same options in more precise formatting.
File Preparation for Large Format Graphics
Follow these tips to get your files ready for the printer.
Best file type: vector (.EPS) files
As suggested in the breakdown of programs, Vector files, which are produced using Illustrator are the best format to use on large-scale graphics. An .EPS vector file works on mathematical principles of scale and is completely resolution independent. Because of this it can be scaled up dramatically while still maintaining its original clarity.
If scaling up non-vector images like a TIFF or JPEG in Illustrator to massive sizes, they will likely become extremely blurry, pixelated and distorted. For this reason, Vector files are preferable.
Working with bitmap files
Not all images and graphics can be vectored. Sometimes you need to import pixel or raster based artwork into your designs from Photoshop. If you do this you need to keep proper dpi in mind to avoid that loss of quality
Viewing distance is important to consider when using bitmap. Detail in graphics is not as apparent when viewed from 10-20+ feet, and a lower ppi (100 ppi) can suffice. A large hanging sign is a good example of this.
While you may be able to get away with lower resolutions on large banners that hang far away, the best practice is to have a ppi in the 100-300 range to ensure it looks crisp from any distance. Keep in mind that higher dpi resolutions can result in very large file sizes.
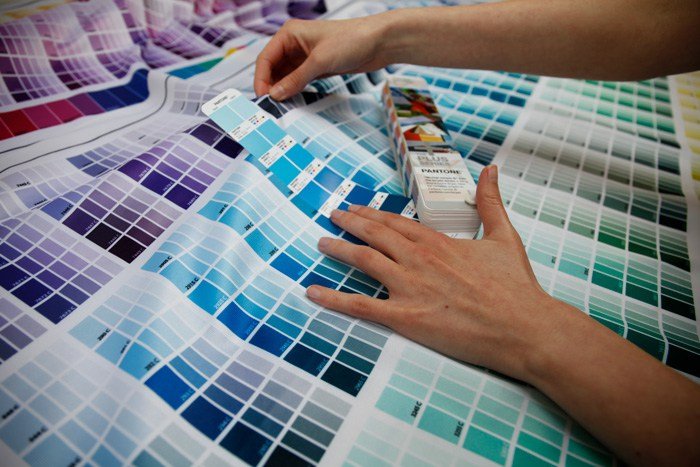
Use Pantone for perfect color
If you’re hoping to match your large-scale graphics with other graphics, your logo or promotional items, Pantone colors can help you do that. Using them within your design will ensure cohesion across the board when your graphic goes to print.
CMYK and RGB color models are the standard options for printing. While the RGB color model has a few benefits, including a wider range of colors and typically smaller file sizes, CMYK is the model generally used by printers. This means that using CMYK will result in a more accurate depiction of color for your graphics.
Alternatively, you can likely provide a color sample (brand logo, a table throw, an existing graphic) to your exhibit house and they can help you match to the right Pantone color.
Be careful with fonts and design features
Not all design elements that work well in small-scale design are going to translate well to large scale. You must take into account that small-scale design on brochures, business cards or sell sheets will be absorbed in close range. Large-scale graphics are unique in that they will be viewed both from far away and up close. You must create images and designs that are easily visible from both distances.
Keep in mind that your audience will likely see your banners or exhibit graphics from several dozen feet away first. Therefore, design using images that don’t completely lose their legibility from a far.
Below are a few golden rules to keep your exhibit graphics looking good close and far:
- Keep distinct images and text well-spaced
- Use easy to read fonts & keep copy at a minimum.
- Use high contrasting colors between backgrounds and overlay imagery or text to maintain visibility
Don’t focus too many on tiny details. Large format graphics offer significant graphic space. Combined with the cost or printing, it can be tempting to fill the space with as much detail as possible.
Unfortunately, adding too much detail into a large format graphic can limit its impact. Much of the detail will be lost by those viewing it at a distance, and the overall message can be lost. Instead, be focused on the design as a whole and don’t be afraid to utilize “negative” space.
Print small-scale test copies
Large-scale printing is costly and takes time and preparation, which mean you only get one chance to print it and see it at full size. Fortunately you can still get an idea of what the whole graphic will look like by printing out a small-scale test copy perfectly scaled to match the larger version on 11’’x17’’ format paper. From this view you can check to make sure everything properly aligns and that designs and fonts work as a whole.
Additionally, check out the design from a distance of 5-10 feet, or equivalent based on size to the distance your audience will be looking at the full-sized display. This way you can further confirm that the design is legible and text readable.
Find a design expert
Don’t forget you can always reach out to your exhibit designer for help creating trade show graphics. The designer will be happy to guide you through the process, step-by-step. Remember, following these tips will help to create a design that will look great on the show floor, both technically and artistically.
Join Nimlok’s expert dealers on May 17th for a Trade Show Graphics Webinar! Take the guesswork out of designing, creating and caring for trade show graphics with practical tips from Nimlok experts. This webinar takes a step-by-step approach that will equip you with what you need to create printer-ready graphics for your next event.